Handbuilt Pottery Ideas That Don’t Need a Wheel Perfect for Beginners Ready to Sell
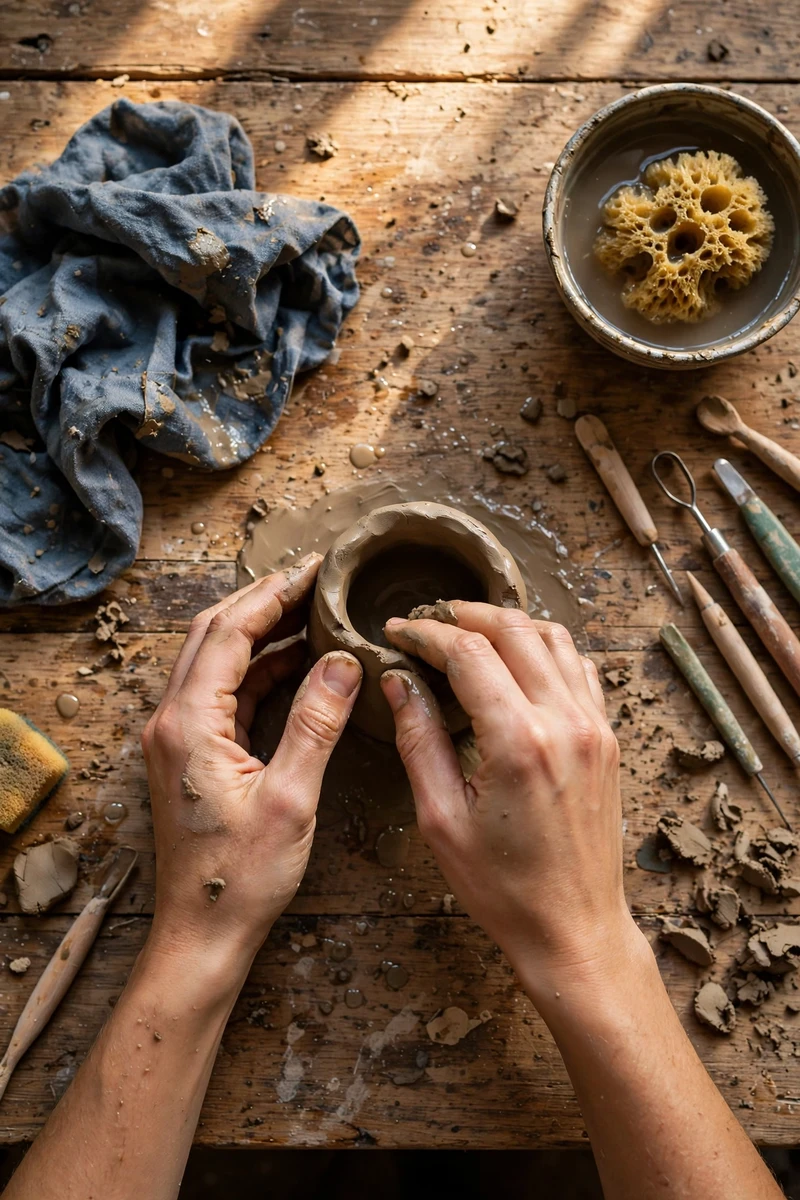
If you are looking for handbuilt pottery ideas that don’t need a wheel perfect for beginners ready to sell, you can start with your hands, a small bag of clay, and a kitchen table. Handbuilding is the oldest way to make pottery, and it needs no wheel, no large studio, and no expensive equipment to begin. You shape the clay by pinching, rolling coils, or pressing flat slabs, and the small imperfections left by your fingers are part of what buyers love about handmade pieces. This guide explains the three basic techniques, the supplies you need, ten beginner-friendly ideas grouped by where they sell best, and how to price, photograph, and package your work when you are ready to sell it.
Quick Answer: What Should You Make First?
- Best first project: a pinch pot mug or a small trinket dish. Both teach the basic skills, use little clay, and are finished in one short session.
- Best project for selling quickly: small, light pieces like trinket dishes, spoon rests, and incense holders. They are fast to make, easy to ship, and easy for a buyer to say yes to.
- Best project for the kitchen: a spoon rest or a small serving bowl. Both are useful every day, which is why buyers come back for them.
- Best project for gifts: a planter or a candle holder in a neutral glaze. Both suit birthdays, housewarmings, and holidays.
- Best way to learn: pick one technique, make the same piece three times, and notice what improves. Repetition teaches faster than making ten different things once.
What Is Handbuilt Pottery?
Handbuilt pottery is pottery shaped by hand without a spinning wheel. Instead of centering clay on a wheel, you build each piece from simple forms. There are three techniques, and every handbuilt piece uses at least one of them.
Pinching starts with a ball of clay. You press your thumb into the center and slowly pinch the walls outward, turning the ball as you go, until it becomes a small bowl or cup. It is the simplest technique and the best place to start, because you feel the thickness of the walls with your fingers the whole time.
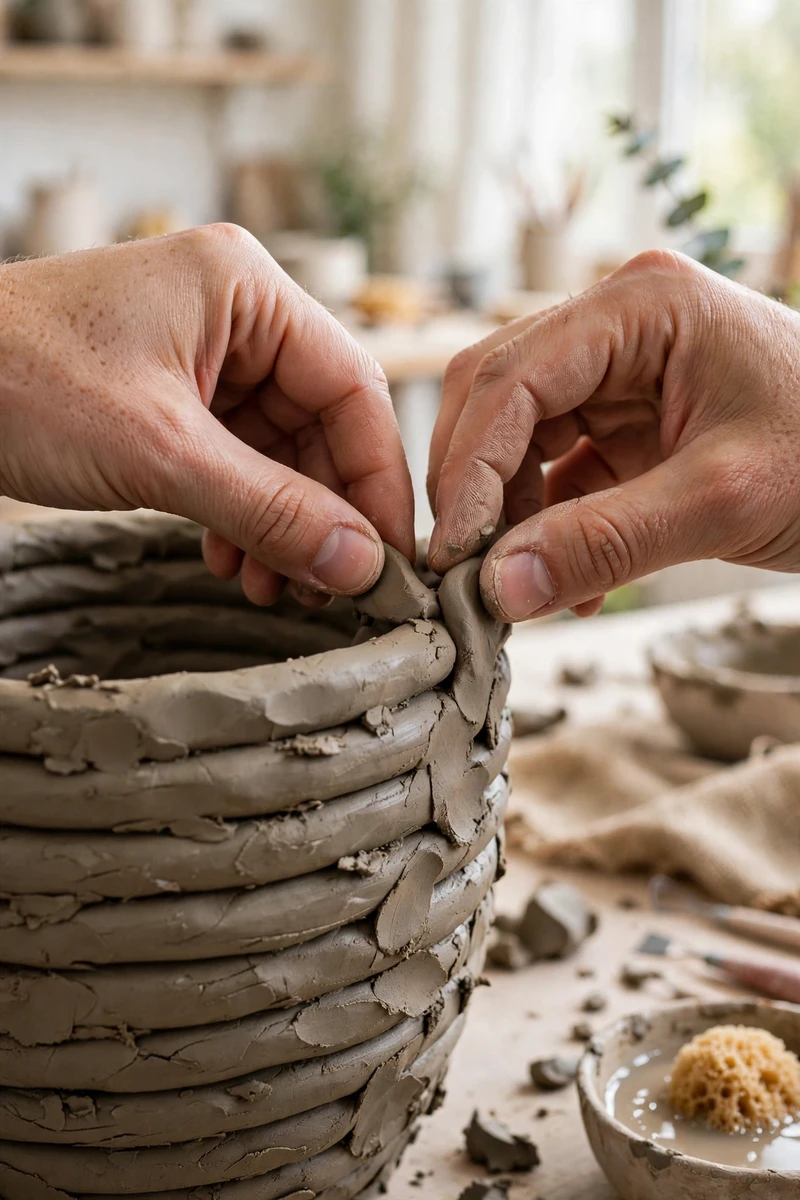
Coil building starts with long ropes of clay rolled out by hand. You stack the coils in rings to build up the walls of a pot, then smooth the joins together. Coils are good for taller pieces like vases and planters, and the visible coil lines can be left as a texture or smoothed away.
Slab building starts with flat sheets of clay rolled out to an even thickness. You cut the slabs into shapes and join them with a little watery clay slip, like building with flat panels. Slabs are good for plates, platters, tiles, and boxes with clean edges.
Most handbuilt pieces combine techniques, but you only need one to start selling.
What You Need to Start
You do not need a studio to begin. A kitchen table covered with an old sheet or a piece of canvas works well, and a small set of tools fits in a shoebox.
Clay comes first, and there are two kinds a beginner should know. Air-dry clay hardens in the air with no kiln at all, which makes it the easiest way to start. It is best for decorative pieces like ornaments, dishes, and small sculptures, and it needs sealing to handle moisture. Kiln-fired clay is the traditional choice: it is fired in a kiln until it becomes hard ceramic, and with a food-safe glaze it is suitable for mugs, bowls, and plates. If you do not own a kiln, look for a community kiln or a local studio that fires pieces for a fee. Many beginners start with air-dry clay and move to kiln-fired clay once they have a firing option.
The basic tools are simple: a rolling pin and two strips of wood to roll even slabs, a needle tool or a kitchen knife for cutting, a small sponge for smoothing, a wooden rib or an old credit card for shaping, and a bucket of water for keeping your hands and the clay damp. Keep a plastic bag nearby to cover pieces you are not finished with, because clay dries out fast in open air.
Set pieces aside to dry slowly on a rack or board, away from direct heat or drafts.
10 Handbuilt Pottery Ideas for Beginners
Kitchen and Table Pieces
1. Textured Coffee Mugs
A mug is the classic first piece for a reason. Everyone uses one, and a handmade mug feels personal in a way a store-bought one never does. Build the body by pinching or with a short coil, then add a handle made from a rolled coil. Press a leaf, a piece of lace, or a carved pattern into the outside for texture.
2. Spoon Rests
A spoon rest is a small, flat dish with a slightly raised edge that holds a cooking spoon while you stir. It is one of the fastest pieces to make: press a slab into a shallow shape, smooth the edges, and add a small texture or a stamped pattern. Spoon rests are light and sturdy, they ship well, and they solve a real kitchen problem, which makes them easy to sell as housewarming gifts.
3. Serving Platters and Plates
A slab-built platter with a wavy edge or a gently curved rim looks far more interesting than a plain round plate, and it is not much harder to make. Roll a slab to an even thickness, cut it into an oval or an organic shape, and drape it over an upturned bowl to give it a soft curve while it firms up. Platters suit shared meals and holiday tables, so they make good seasonal pieces.
4. Small Bowls and Ramekins
Small bowls are useful for dips, sauces, snacks, and cereal, and they are quick to build by pinching. Make them in sets of two or four in the same glaze, because buyers love matching sets and sets are easier to photograph than single pieces. Keep the walls even and the rim smooth, since a bowl is handled every time it is used.
Home and Garden Pieces
5. Small Planters for Succulents
Planters are one of the most popular handmade ceramics, and a small handbuilt planter is a friendly beginner project. Coil or pinch a pot, add a drainage hole while the clay is still soft, and finish it with a textured band or a simple carved line. Small planters suit desks and windowsills, and they pair well with a succulent as a gift.
6. Sculptural Vases
A vase does not need to hold a perfect bouquet to sell. Many buyers want a vase that looks good empty, as a piece of art on a shelf. Build it with coils and let the shape be a little uneven on purpose. Keep the base wide enough that the vase stands steadily.
7. Candle Holders
Candle holders are small, simple, and always in demand. A slab-built holder for a taper candle, a pinched dish for a tea light, or a cluster of small holders in different heights all work well. If a holder will hold a burning candle, make sure the design is stable and the candle sits securely. Tell buyers clearly whether a piece is meant for real candles or for decoration only, so expectations are clear.
Gifts and Small Pieces
8. Trinket Dishes and Ring Holders
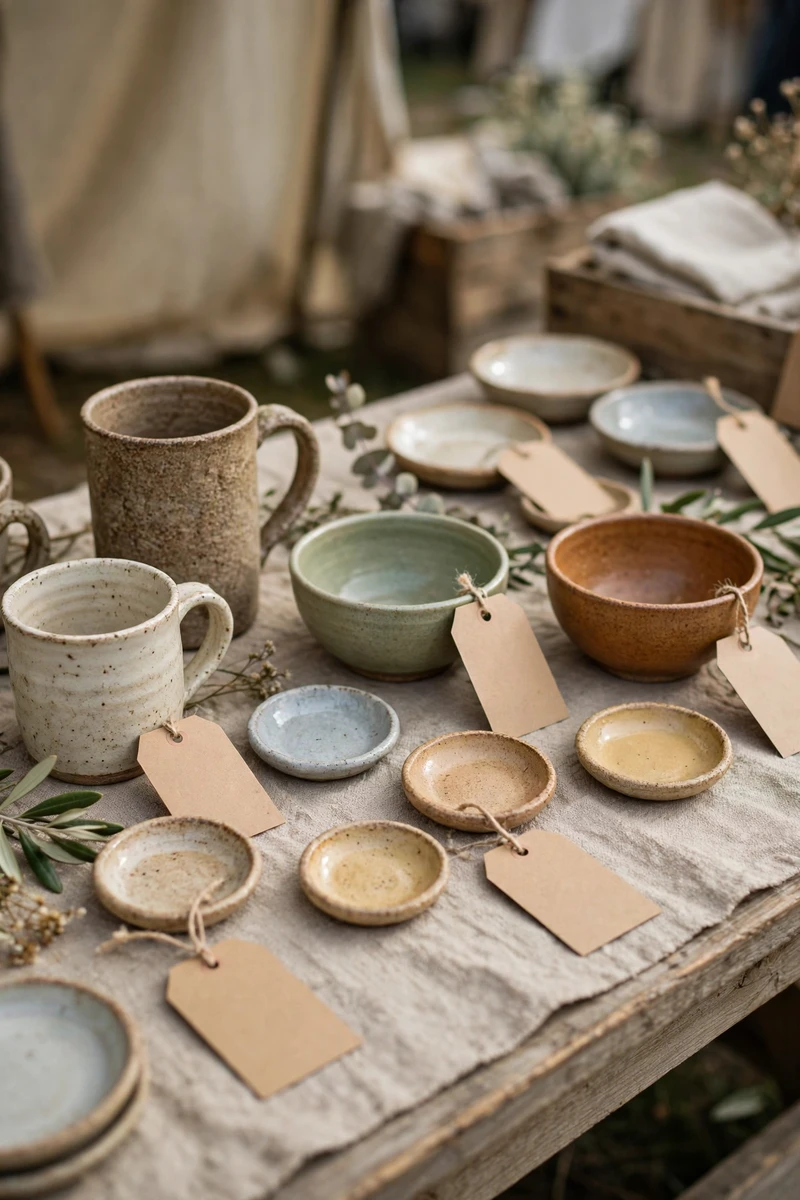
A trinket dish is a small shallow dish for rings, earrings, and keys. It is one of the quickest pieces to make, uses very little clay, and is easy to ship in a small padded mailer. Press a real leaf or a piece of fabric into the surface for a natural pattern, or carve a simple moon or star shape. Themed sets, like botanical prints or matching colors, sell better than random one-off dishes.
9. Incense Holders
An incense holder is a small flat piece with a hole for a stick of incense and a channel to catch the ash. It is simple to make from a slab, and it is light enough to post cheaply. Offer them in calm, earthy glazes and in pairs, because buyers often buy two. Make sure the ash channel is deep enough to actually catch the ash, since that is the whole job of the piece.
10. Yarn Bowls
A yarn bowl is a bowl with a curved slot in the side that lets yarn feed out while someone knits or crochets, without the ball rolling away. It is a thoughtful gift for the large knitting and crochet community, and buyers in that world care about beautiful, useful tools. Build the bowl by pinching or coiling, then cut the slot carefully while the clay is firm but not dry, and smooth the edges so the yarn does not catch.
Handbuilding Techniques Compared
| Technique | Best For | Difficulty | Good First Project |
|---|---|---|---|
| Pinching | Small bowls, cups, dishes | Easy | A small bowl or trinket dish |
| Coil building | Tall pieces, vases, planters | Medium | A small planter or vase |
| Slab building | Plates, platters, boxes, tiles | Medium | A spoon rest or a serving platter |
How to Price Your Pieces
Pricing is the part most beginners worry about, and the honest answer is that there is no single right price for a handmade piece. What you can do is price with a clear method, so you are not guessing or copying someone else’s numbers.
Start with your costs: the clay, the glaze, the firing fee if you use a community kiln, and the packaging. Then add your time: a piece that takes two hours to make, finish, and pack costs you two hours. Then consider the piece itself: larger pieces, pieces with more detail, and pieces that need a special glaze take more work and can be priced higher than small, simple ones.
Handmade pottery does not compete with mass-produced dishes, so do not price it like a supermarket mug. If a price feels uncomfortable to say out loud, it is usually too low. Keep a simple record of what each piece cost you to make and what it sold for, and adjust as you learn.
How to Sell: Photos, Listings, and Packaging
Good photos sell pottery more than any description can. Photograph each piece in natural daylight near a window, on a plain background, with nothing else competing for attention. Show the piece from the front and from above, plus one photo of it in use, so buyers can picture it in their own home.
Write listings that are honest and specific. Say what the piece is, how it was made, what clay and glaze were used, and the exact size and weight. Mention whether it is food safe, whether it can hold water, and how to care for it. Buyers want to know the story of the piece, and they also want practical details before they spend money.
Packaging matters because ceramics break. Wrap each piece in tissue, then in bubble wrap or paper padding, and pack it in a sturdy box with enough filling that it cannot move. Fragile items should not touch each other in the box.
Common Mistakes to Avoid
The most common mistake is drying a piece too fast. Clay that dries in direct sun or next to a heater cracks, and a cracked piece cannot be fixed after firing. Dry pieces slowly, away from heat and drafts, and cover them loosely with plastic if the room is dry.
The second mistake is uneven walls. Check the thickness with your fingers as you build, and smooth the walls until they feel even all the way around.
The third mistake is forgetting that food pieces need a food-safe glaze. A beautiful glaze that is not food safe should never go on a mug, a bowl, or a plate. If you are not sure a glaze is food safe, use the piece for decoration only and say so clearly.
The fourth mistake is skipping a test firing. A new clay or a new glaze can behave differently than you expect, so fire one small test piece before you make a whole batch. A test piece costs little and saves a lot of disappointment.
The fifth mistake is underpricing your time. Beginners often charge only for materials and forget the hours of making, drying, glazing, firing, photographing, and packing. Track your time for a few pieces, and let that guide your prices.
Frequently Asked Questions
Do I need a kiln to start making handbuilt pottery?
No. Air-dry clay needs no kiln at all and is a good way to learn shaping and finishing. If you want durable, food-safe ceramic pieces, you will need access to a kiln, and many beginners use a community kiln or a local studio that fires pieces for a fee.
What clay should a beginner start with?
A smooth, low-fire earthenware clay is a friendly first choice because it is soft, easy to shape, and forgiving. Air-dry clay is even simpler if you only want decorative pieces. Ask your local clay supplier which clay suits the pieces you want to make, and buy a small bag first.
How do I keep my pottery from cracking?
Dry pieces slowly and evenly, away from direct heat and drafts. Keep the walls an even thickness, smooth any joins well, and cover pieces loosely with plastic while they dry. Cracks usually come from drying too fast or from a join that was not blended properly.
Can I sell air-dry clay pieces?
Yes, for decorative items like ornaments, trinket dishes, and sculptures. Air-dry clay is not as strong as kiln-fired ceramic and it is not food safe, so be honest in your listings and seal decorative pieces so they handle light moisture.
How do I photograph pottery for selling?
Use natural daylight near a window and a plain background. Photograph the piece from the front and from above, add one photo of it in use, and include something familiar for scale. Clean the piece before photographing it, because dust and fingerprints show up clearly in photos.
Conclusion
Handbuilt pottery is a craft you can start with very little: some clay, a few simple tools, and a table to work on. You do not need a wheel, a studio, or years of practice to make pieces people want to buy. Start with one technique, make a small piece well, and repeat it until your hands know what they are doing. Then try a new idea, learn from each batch, and let your style develop naturally. The pieces that sell best are the ones made with care and sold honestly, with clear photos, fair prices, and good packaging. Pick one idea from this guide, make it this week, and see where it takes you.
